Wednesday, March 12, 2014

Media Tower

I consider this piece my first piece of furniture that my hands have built from scratch! I am so proud of myself for building this. I hope that this piece will stay with me and I will be able to pass it down in my family.

I purchased Ana's The Handbuilt Home: 34 Simple Stylish and Budget-Friendly Woodworking Projects for Every Room. Such a great purchase and I recommend it to those who want to learn more about woodworking!


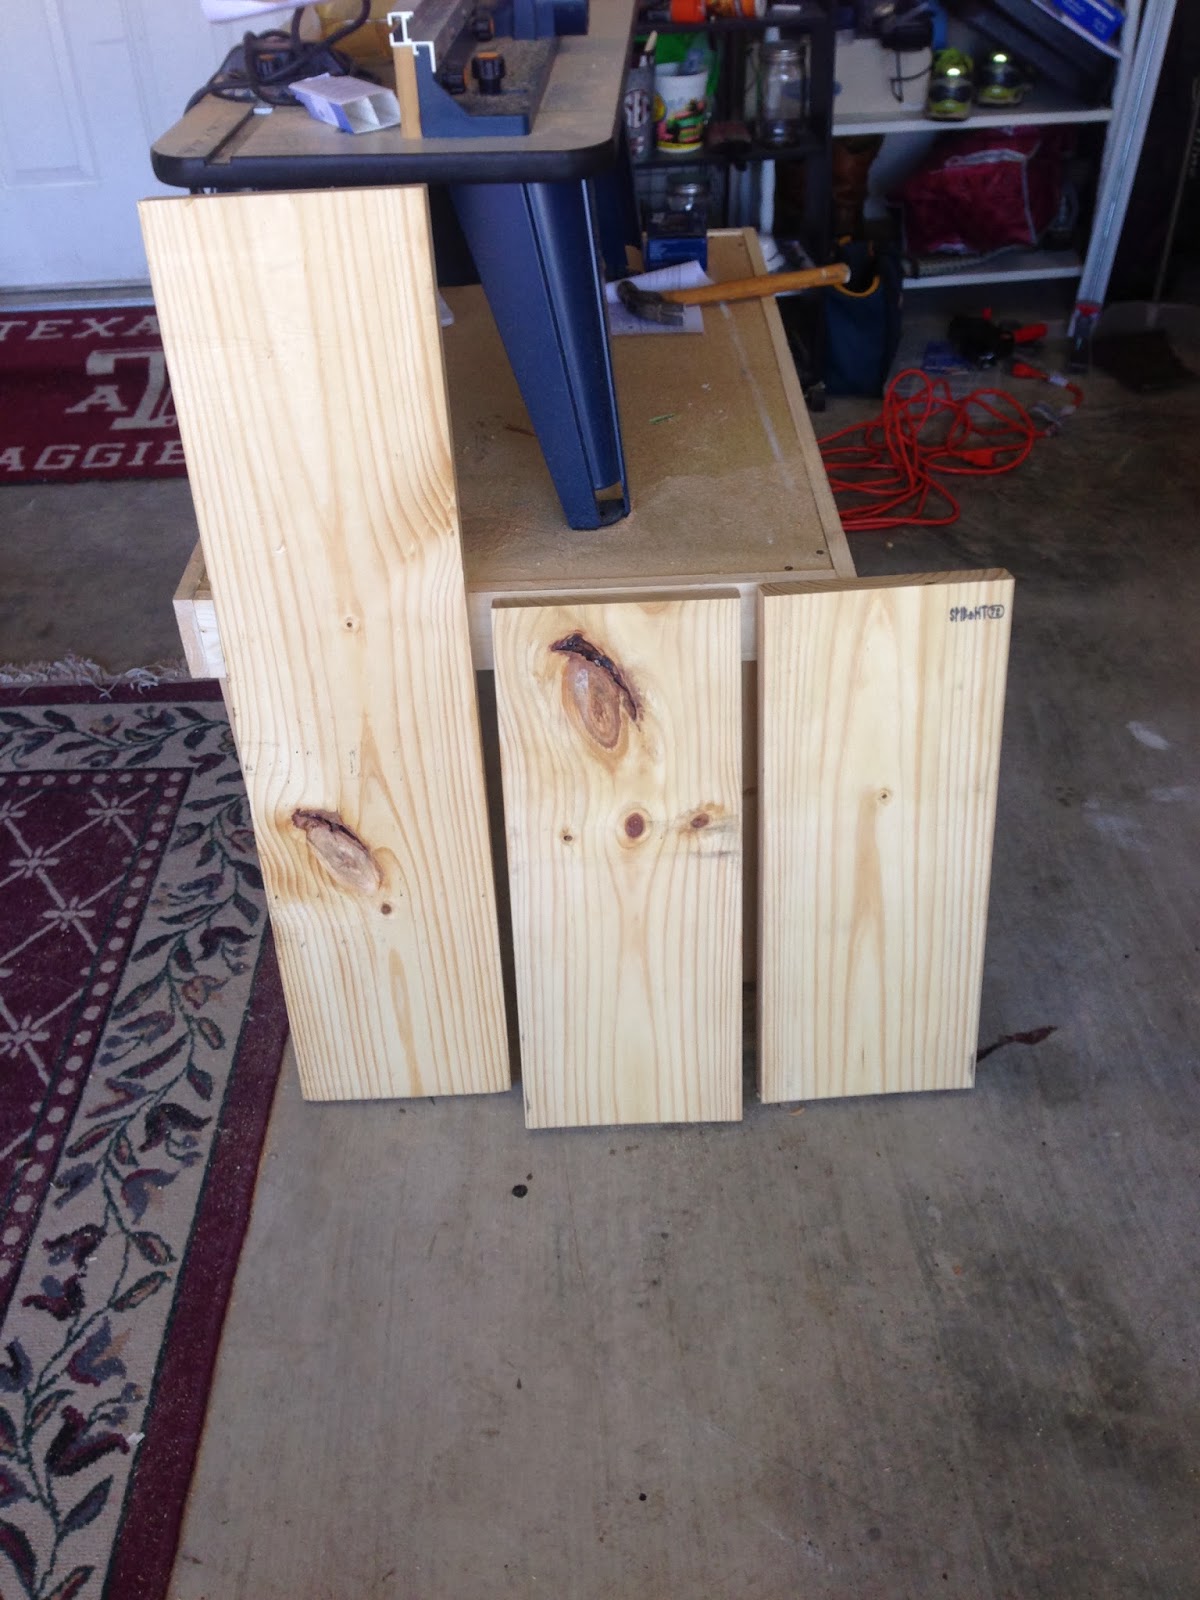
Here is everything I purchased.... my proof that I started from scratch! (There are some people who cannot believe I cut and ripped everything myself!)


I was so proud that I had the frame built and that it was level!


Working on my shelves. I did not make them adjustable. I just made pocket holes and screwed them in. And of course Granger had to get in the picture!


Then I worked on the doors. Let's just say that this was the hardest part and tested my patience. I admit I got very frustrated with these two doors but end the end I did it. Never give up!


Got the doors screwed on their hinges and they work! I would just go into the garage and open and close them multiple times. I would think to myself. I did it! Now, they are not perfect but they work and that is all that matters!


I stained them with my favorite, Dark Walnut by Rust-Oleum. I did two coats of stain and 2 coats of  semi-gloss polyurethane.


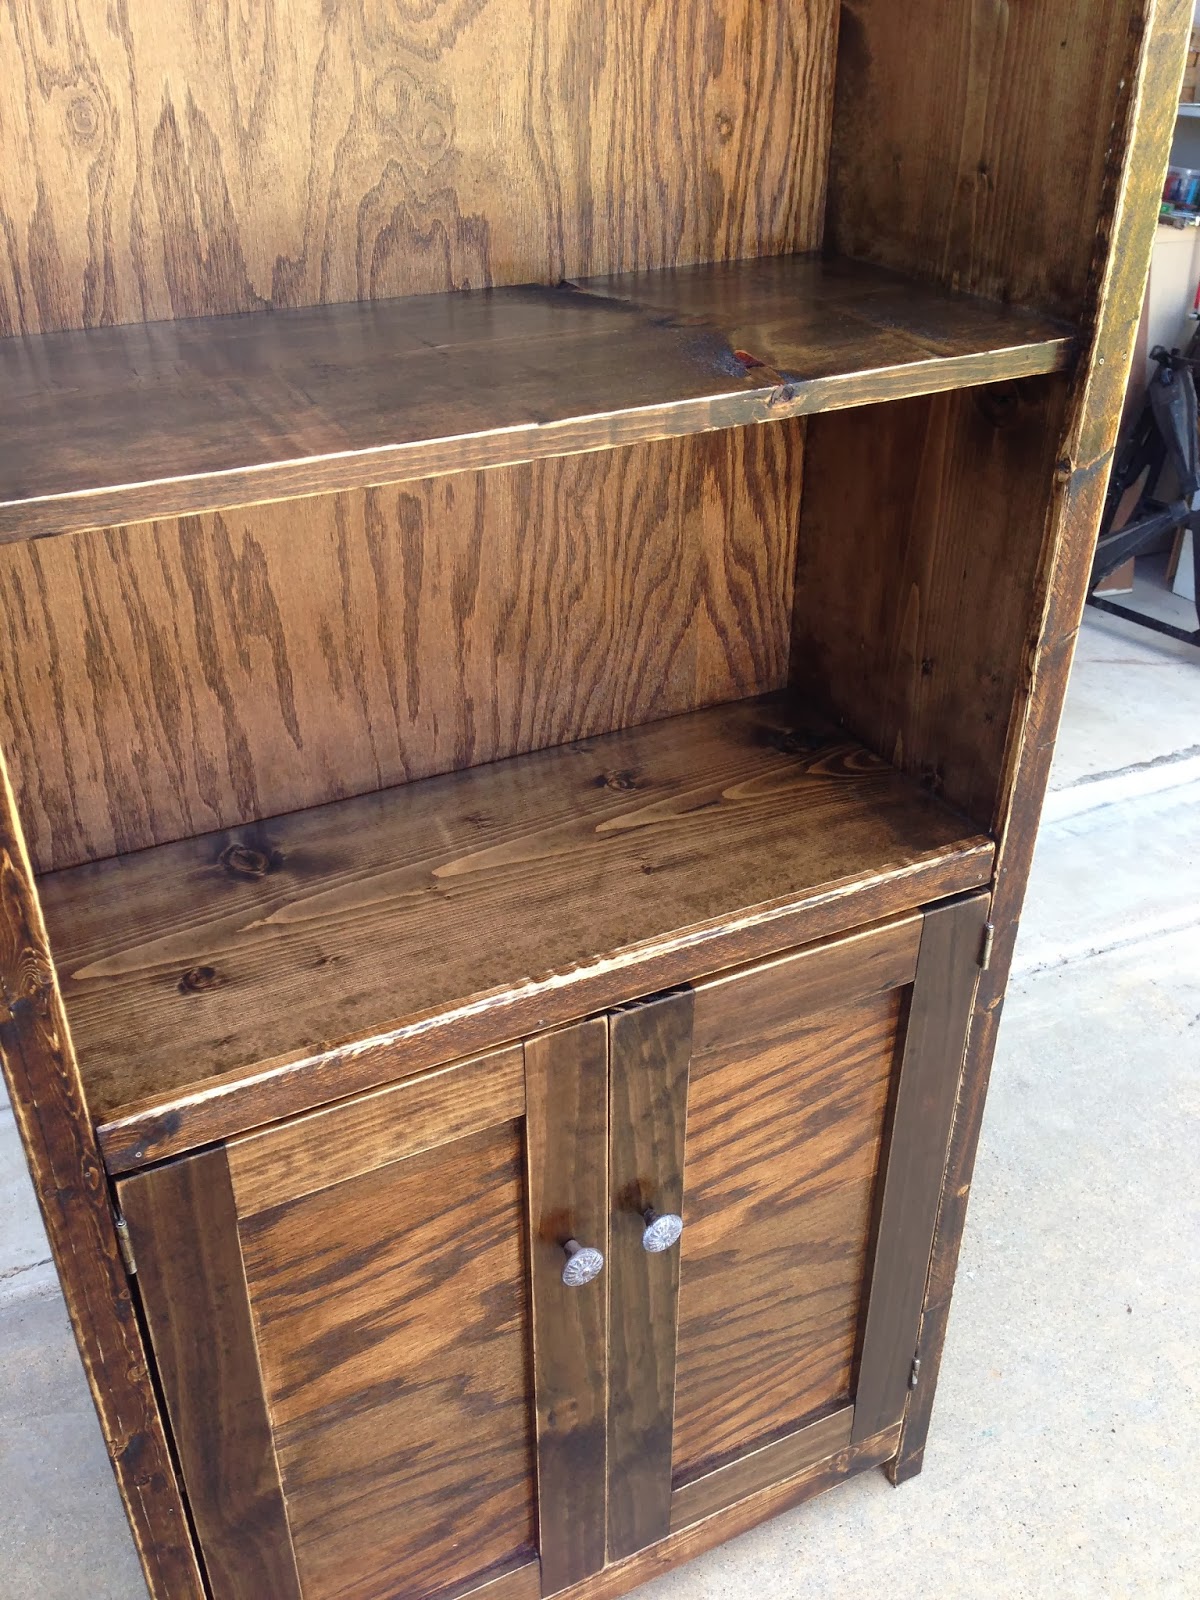
I am in love with it!


I have to say I did pretty darn good!


Tuesday, March 11, 2014

5 Board Entryway Table

 I know you have all seen this on pinterest...the end table made from 5 boards and some nails (below). I did not need another end table but I did want to have an entryway table. I came across the plans for this end table at www.ana-white.com. You can find the plans here. Since I changed the dimensions for this I had to reteach myself trig for cutting the angles of the fence boards. But I figured it out! Woohoo...proud moment!

5 board and some nails end table
Supplies:
1 - 2x10 @ 8 feet long
2 - fence boards (1 x6)
2 " pocket hole screws & 3" nails
I used nails  for attaching cross supports to add a more rustic look.

Tools:
measuring tape
square
pencil
safety glasses
hearing protection
compound miter saw
sander
countersink drill bit
kreg jig

Cut:
1- 2x10 @ 36" (top)
2- 2x10 @ 30" (legs)
2- fence boards @ 47.8"
(both ends cut parallel to each other at 40 degrees off square, long point to short point)


After the table was all put together I had to decide on how I wanted to finish it. I knew I wanted a rustic look but I wanted to try something new. Here is what I did. I sanded it first then did a very light stain all over. I used dark walnut (my personal favorite).


Next, I painted it with a creme white/ off white. I did 2 coats and waited. I might have been watching Grey's Anatomy while I was doing this.

Finally, it was dry and I started sanding! I used 60 grit sandpaper and then a 220 grit to smooth it out.

Once, I was done sanding I did some vacuuming and wiped it down of all the dust. To finish it off I mixed a brown glaze by Valspar and dark walnut stain together. I used a towel to spread it all over. And now it is beautiful! I love the way my finish came out!


Monday, December 17, 2012

Twine Wine Bottles

I have come across multiple pins about covering things in twine. I decided to do some wine bottles that have been sitting in my garage for a while. I sprayed the bottles with spray adhesive and then starting wrapping them up. I made 2 burlap rosettes and a maroon t-shirt rosette. I added some buttons to the center and then hot glued the rosettes to the bottles. Very simple and I am very happy with the way they came out! 


Maroon Chevron Bulletin Board

I got the idea to do this from pinterest (of course!) for my office. I need a bulletin board but I needed to add a little bit of "Nadia" to it. Here is the pin I got my idea from. I found maroon and white chevron fabric that was over priced because the custom made it...but I had to have it! I cut the fabric to the board with a 1" extra to each side. I ironed to get out the creases. 


I sprayed the board with spray adhesive and then put down the fabric.


Instead of buying upholstery tacks I bought a pack of 300 thumb tacks from Wal-Mart and spray painted them a bronze color.

Once you have your fabric put down you can start pushing down the thumb tacks. I did this over a few overs because your thumb begins to hurt, haha. 

Between pushing in the tacks I created some fabric rosettes for the corner. I made three different sizes.

I added some buttons to my rosettes for an embellishment and then hot glued them on to the board!


Here is the final product!

Now I just need to find a spot for it in my office! :)