 |
| 5 board and some nails end table |
1 - 2x10 @ 8 feet long
2 - fence boards (1 x6)
2 " pocket hole screws & 3" nails
I used nails for attaching cross supports to add a more rustic look.
Tools:
measuring tape
square
pencil
safety glasses
hearing protection
compound miter saw
sander
countersink drill bit
kreg jig
Cut:
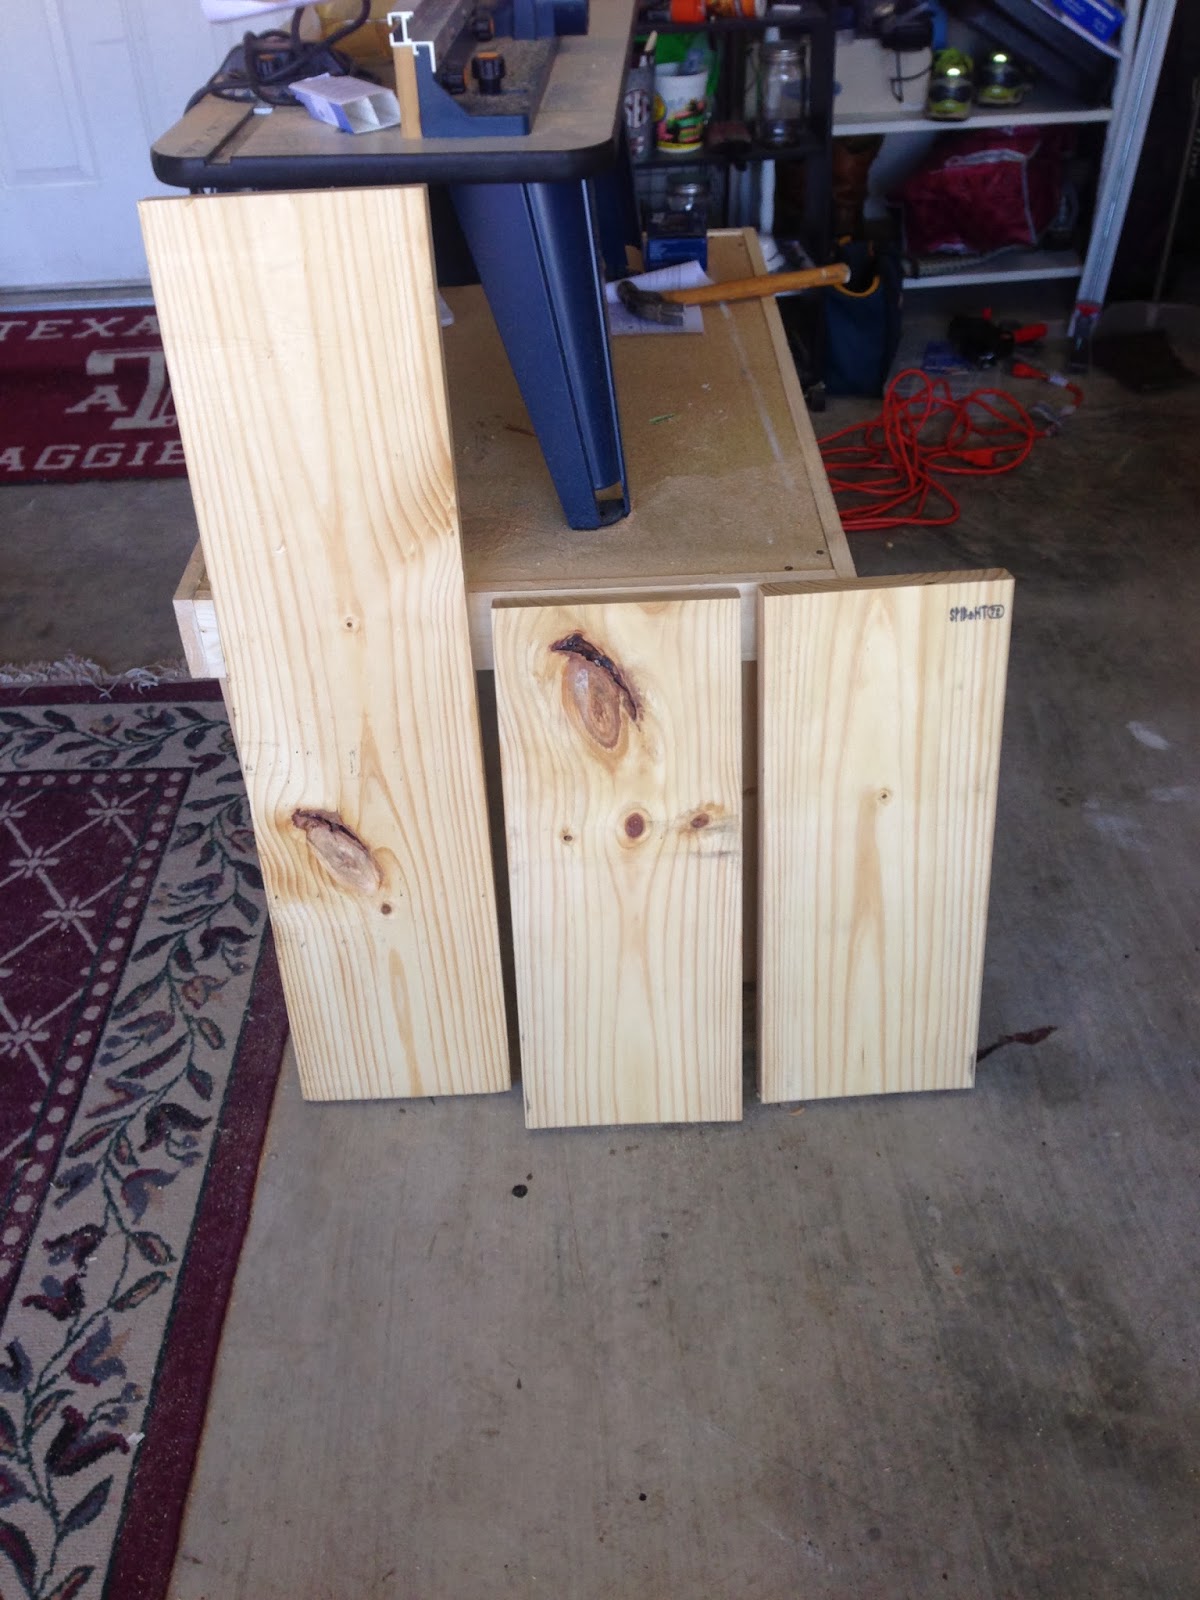
1- 2x10 @ 36" (top)
2- 2x10 @ 30" (legs)
2- fence boards @ 47.8"
(both ends cut parallel to each other at 40 degrees off square, long point to short point)
After the table was all put together I had to decide on how I wanted to finish it. I knew I wanted a rustic look but I wanted to try something new. Here is what I did. I sanded it first then did a very light stain all over. I used dark walnut (my personal favorite).
Next, I painted it with a creme white/ off white. I did 2 coats and waited. I might have been watching Grey's Anatomy while I was doing this.
Finally, it was dry and I started sanding! I used 60 grit sandpaper and then a 220 grit to smooth it out.
Once, I was done sanding I did some vacuuming and wiped it down of all the dust. To finish it off I mixed a brown glaze by Valspar and dark walnut stain together. I used a towel to spread it all over. And now it is beautiful! I love the way my finish came out!


No comments:
Post a Comment